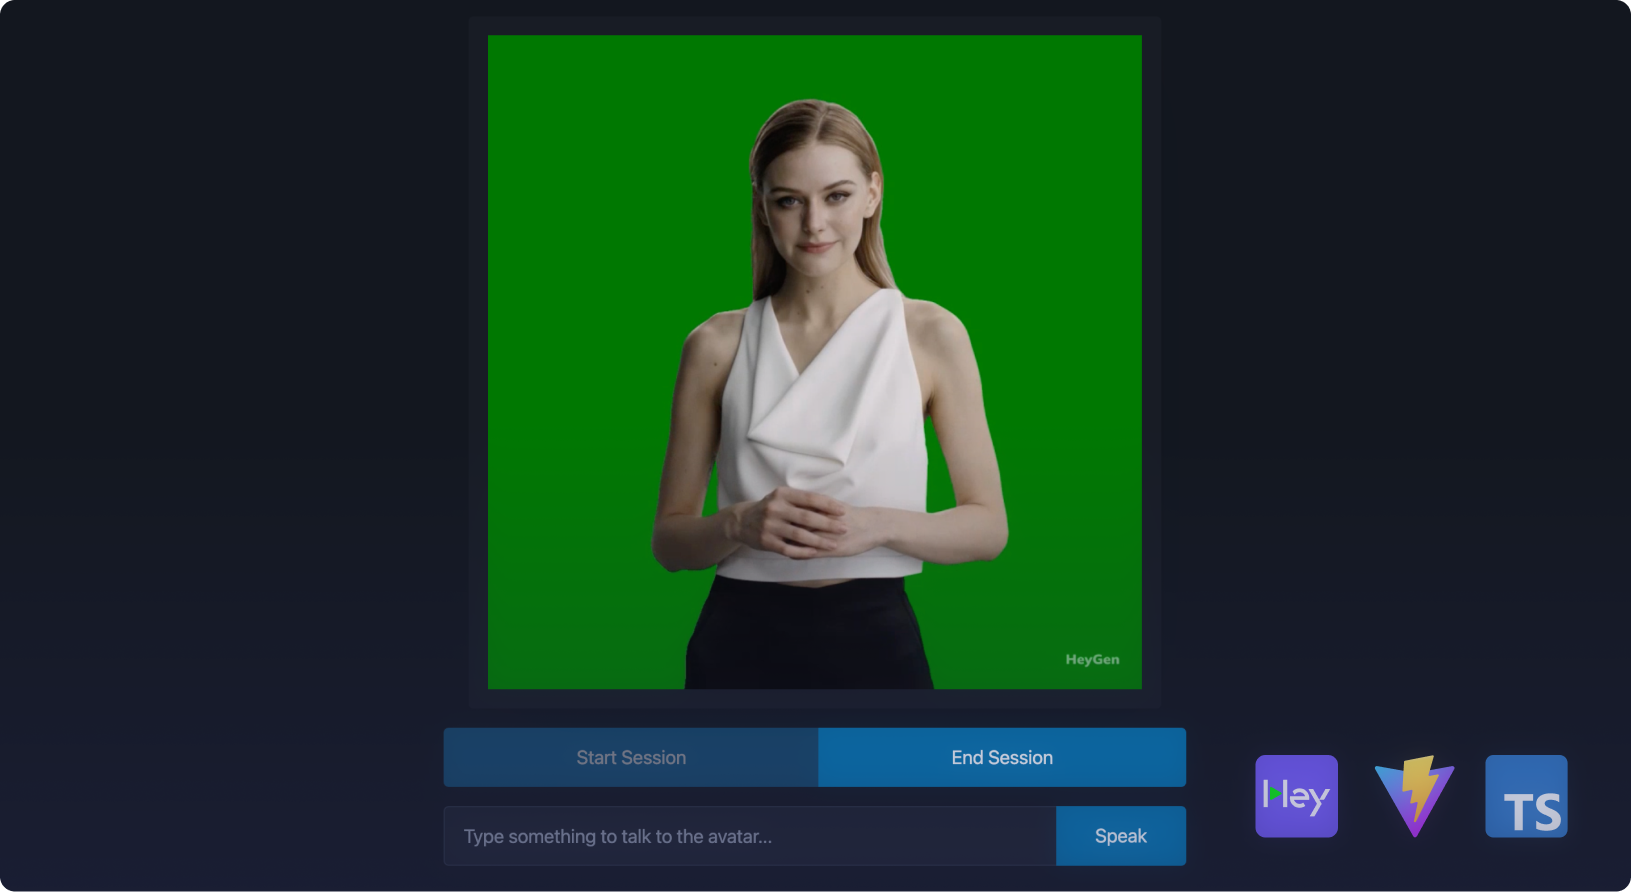
Demo: Create a Vite Project with Streaming SDK
Creating a Vite Project with Streaming SDK
Interactive Avatar is getting upgraded to LiveAvatar! Now with its own website and app. Learn more
We recommend integrating directly with LiveAvatar instead. Docs
If you have an existing HeyGen Interactive Avatar implementation, we recommend checking out our migration guide. Docs
In this demo, we will create a basic Vite project that integrates the @heygen/streaming-avatar SDK to showcase interactive avatars.

Setup Vite Project
- Create a new Vite project:
npm create vite@latest streaming-avatar-demo -- --template vanilla-ts
cd streaming-avatar-demo- Install dependencies:
npm install @heygen/streaming-avatar livekit-clientStep 2: Create Basic Frontend Structure
Edit index.html to include a video element and buttons for interaction:
<!DOCTYPE html>
<html lang="en" data-theme="light">
  <head>
    <meta charset="UTF-8" />
    <meta name="viewport" content="width=device-width, initial-scale=1.0" />
    <link rel="icon" href="/vite.svg" type="image/svg+xml" />
    <link
      rel="stylesheet"
      href="https://cdn.jsdelivr.net/npm/@picocss/pico@2/css/pico.min.css"
    />
    <title>Interactive Avatar Demo</title>
  </head>

  <body>
    <main
      class="container"
      style="display: flex; flex-direction: column; align-items: center"
    >
      <h1>Interactive Avatar Demo (Vite + TypeScript)</h1>

      <!-- Video Section -->
      <article style="width: fit-content">
        <video id="avatarVideo" autoplay playsinline></video>
      </article>

      <!-- Controls Section -->
      <section>
        <section role="group">
          <button id="startSession">Start Session</button>
          <button id="endSession" disabled>End Session</button>
        </section>

        <section role="group">
          <input
            type="text"
            id="userInput"
            placeholder="Type something to talk to the avatar..."
            aria-label="User input"
          />
          <button id="speakButton" role="button">Speak</button>
        </section>
      </section>
    </main>

    <script type="module" src="/src/main.ts"></script>
  </body>
</html>
Step 3: Implement the Streaming Avatar SDK Logic
Create a main.ts file in the src directory:
import StreamingAvatar, {
  AvatarQuality,
  StreamingEvents,
  TaskType
} from "@heygen/streaming-avatar";

// DOM elements
const videoElement = document.getElementById("avatarVideo") as HTMLVideoElement;
const startButton = document.getElementById(
  "startSession"
) as HTMLButtonElement;
const endButton = document.getElementById("endSession") as HTMLButtonElement;
const speakButton = document.getElementById("speakButton") as HTMLButtonElement;
const userInput = document.getElementById("userInput") as HTMLInputElement;

let avatar: StreamingAvatar | null = null;
let sessionData: any = null;

// Helper function to fetch access token
async function fetchAccessToken(): Promise<string> {
  const apiKey = import.meta.env.VITE_HEYGEN_API_KEY;
  const response = await fetch(
    "https://api.heygen.com/v1/streaming.create_token",
    {
      method: "POST",
      headers: { "x-api-key": apiKey },
    }
  );

  const { data } = await response.json();
  return data.token;
}

// Initialize streaming avatar session
async function initializeAvatarSession() {
  const token = await fetchAccessToken();
  avatar = new StreamingAvatar({ token });

  avatar.on(StreamingEvents.STREAM_READY, handleStreamReady);
  avatar.on(StreamingEvents.STREAM_DISCONNECTED, handleStreamDisconnected);

  sessionData = await avatar.createStartAvatar({
    quality: AvatarQuality.High,
    avatarName: "Wayne_20240711",
  });

  console.log("Session data:", sessionData);

  // Enable end button and disable start button
  endButton.disabled = false;
  startButton.disabled = true;
}

// Handle when avatar stream is ready
function handleStreamReady(event: any) {
  if (event.detail && videoElement) {
    videoElement.srcObject = event.detail;
    videoElement.onloadedmetadata = () => {
      videoElement.play().catch(console.error);
    };
  } else {
    console.error("Stream is not available");
  }
}

// Handle stream disconnection
function handleStreamDisconnected() {
  console.log("Stream disconnected");
  if (videoElement) {
    videoElement.srcObject = null;
  }

  // Enable start button and disable end button
  startButton.disabled = false;
  endButton.disabled = true;
}

// End the avatar session
async function terminateAvatarSession() {
  if (!avatar || !sessionData) return;

  await avatar.stopAvatar();
  videoElement.srcObject = null;
  avatar = null;
}

// Handle speaking event
async function handleSpeak() {
  if (avatar && userInput.value) {
    await avatar.speak({
      text: userInput.value,
    });
    userInput.value = ""; // Clear input after speaking
  }
}

// Event listeners for buttons
startButton.addEventListener("click", initializeAvatarSession);
endButton.addEventListener("click", terminateAvatarSession);
speakButton.addEventListener("click", handleSpeak);Note: Add your HeyGen API key to your .env file in the root of your Vite project:
VITE_HEYGEN_API_KEY=your_api_key_hereStep 4: Run the Project
Start the Vite development server:
npm run devOpen your browser and navigate to http://localhost:5173 to see the demo in action.
Best Practice
To enhance security and avoid exposing your HeyGen API token in the frontend, move the fetchAccessToken function to a backend service.
Details
-
Set Up a Backend API Endpoint
Create a backend endpoint (e.g.,
/api/get-access-token) that handles the token retrieval. This endpoint will securely manage your HeyGen API key and provide the token to your frontend.Here's a basic example using Express:
Install Express:
npm install expressCreate a server file (
server.js):const express = require('express'); const fetch = require('node-fetch'); const app = express(); const port = 3000; app.get('/api/get-access-token', async (req, res) => { try { const apiKey = process.env.HEYGEN_API_KEY; // Store your API key in an environment variable const response = await fetch('https://api.heygen.com/v1/streaming.create_token', { method: 'POST', headers: { 'x-api-key': apiKey }, }); const { data } = await response.json(); res.json({ token: data.token }); } catch (error) { res.status(500).json({ error: 'Failed to fetch access token' }); } }); app.listen(port, () => { console.log(`Server running at http://localhost:${port}`); }); -
Update Frontend Code
Modify your
main.tsto request the token from the backend endpoint:async function fetchAccessToken(): Promise<string> { const response = await fetch('/api/get-access-token'); const { token } = await response.json(); return token; }This ensures your API key remains secure and is not exposed in your frontend code.
Conclusion
You now have a basic Vite TypeScript demo using the Streaming Avatar SDK. You can expand this by adding more features such as handling different events or customizing the AI Avatar interactions.
Updated 7 days ago