Adding Speech-to-Text Integration to Demo Project
Add Speech-to-Text Power to Your HeyGen Demo Project
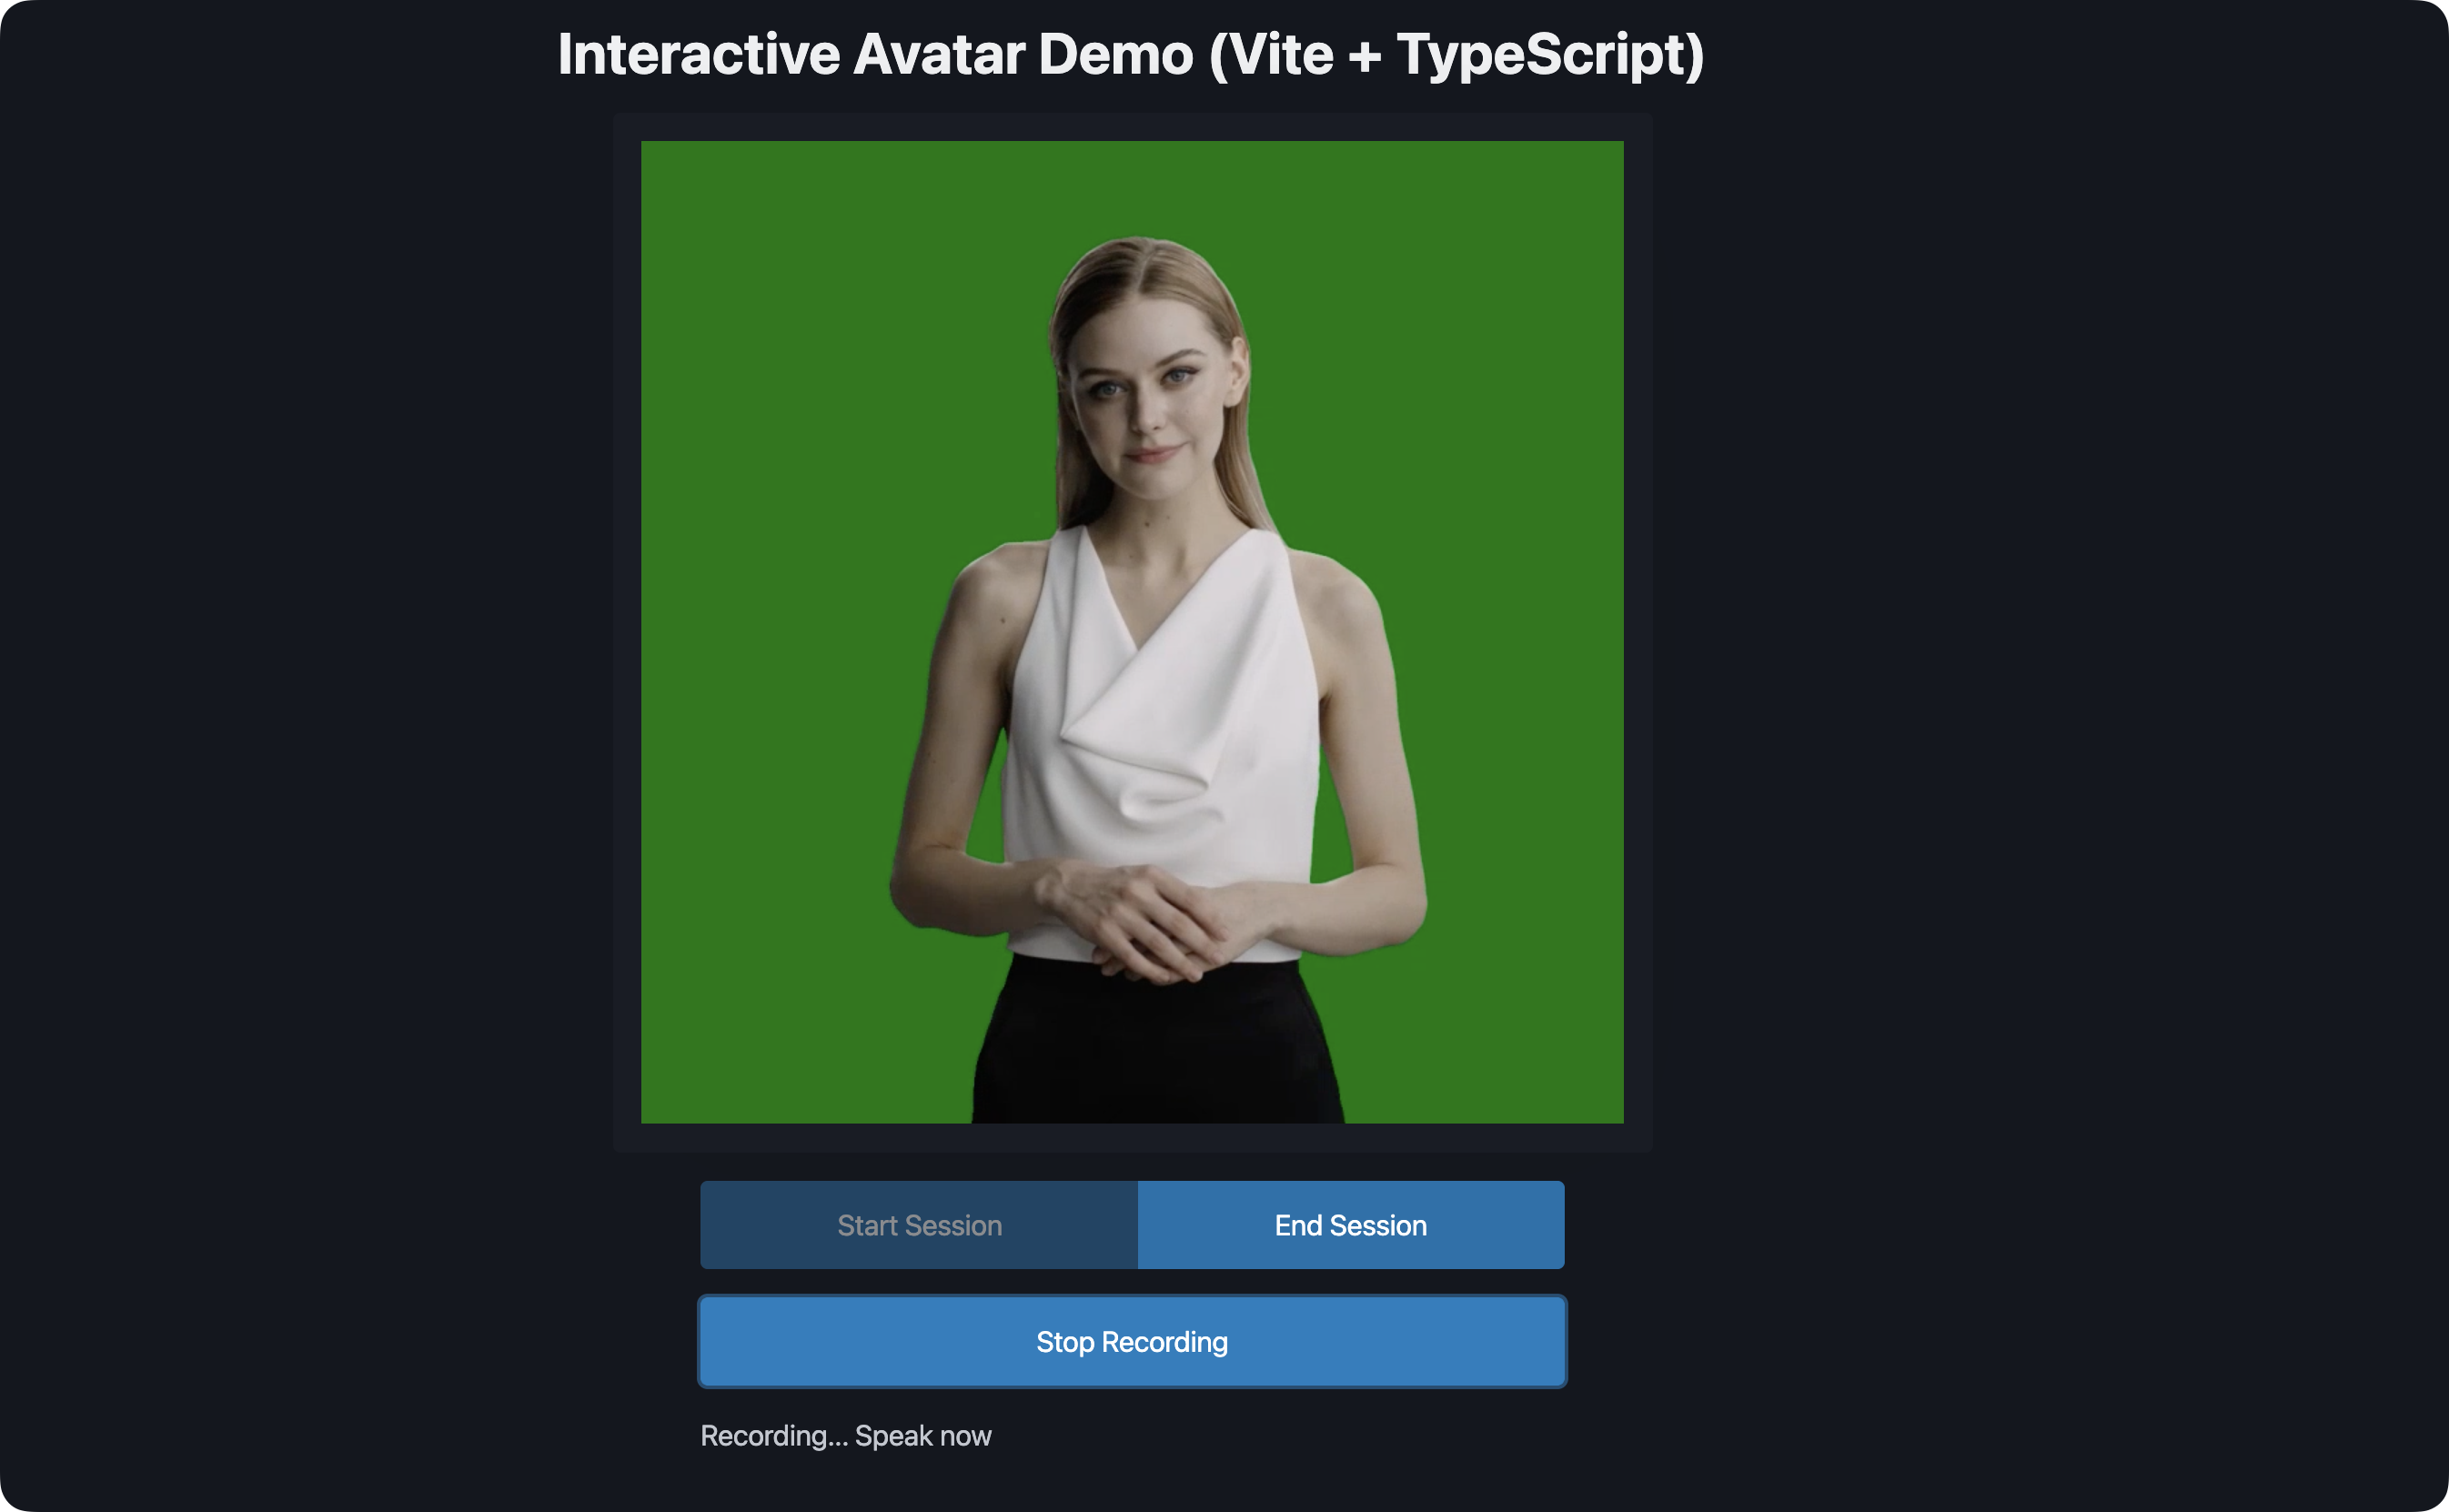
This guide will walk you through the process of adding speech-to-text capabilities to your existing Interactive Avatar Vite demo project. This feature allows users to speak into their microphone, have their speech converted to text using OpenAI's Whisper API, and then have the avatar speak the transcribed text.

Flow

- User's voice is captured and recorded using the MediaRecorder API
- Audio is sent to OpenAI's Whisper API for transcription
- Transcribed text is passed to the avatar's speak method
- Avatar processes the text using its built-in LLM and responds
Note: If you need custom language processing or specific behaviors, you can add your own LLM step between transcription and avatar speech (shown as dotted line in the diagram).
Prerequisites
- Existing Heygen Interactive Avatar Vite demo project.
- OpenAI API key (Get one from OpenAI Platform).
- Heygen API key (Already in your project).
Step 1: Environment Setup
- Add your OpenAI API key to your
.envfile:
VITE_OPENAI_API_KEY=your_openai_api_key_hereStep 2: Create Audio Handler
- Create a new file
src/audio-handler.tswith the following content:
export class AudioRecorder {
    private mediaRecorder: MediaRecorder | null = null;
    private audioChunks: Blob[] = [];
    private isRecording = false;

    constructor(
        private onStatusChange: (status: string) => void,
        private onTranscriptionComplete: (text: string) => void
    ) {}

    async startRecording() {
        try {
            console.log('Requesting microphone access...');
            const stream = await navigator.mediaDevices.getUserMedia({ audio: true });
            console.log('Microphone access granted');

            this.mediaRecorder = new MediaRecorder(stream);
            this.audioChunks = [];
            this.isRecording = true;

            this.mediaRecorder.ondataavailable = (event) => {
                if (event.data.size > 0) {
                    console.log('Received audio chunk:', event.data.size, 'bytes');
                    this.audioChunks.push(event.data);
                }
            };

            this.mediaRecorder.onstop = async () => {
                console.log('Recording stopped, processing audio...');
                const audioBlob = new Blob(this.audioChunks, { type: 'audio/webm' });
                console.log('Audio blob size:', audioBlob.size, 'bytes');
                await this.sendToWhisper(audioBlob);
            };

            this.mediaRecorder.start(1000); // Collect data every second
            console.log('Started recording');
            this.onStatusChange('Recording... Speak now');
        } catch (error) {
            console.error('Error starting recording:', error);
            this.onStatusChange('Error: ' + (error as Error).message);
        }
    }

    stopRecording() {
        if (this.mediaRecorder && this.isRecording) {
            console.log('Stopping recording...');
            this.mediaRecorder.stop();
            this.isRecording = false;
            this.onStatusChange('Processing audio...');

            // Stop all tracks in the stream
            const stream = this.mediaRecorder.stream;
            stream.getTracks().forEach(track => track.stop());
        }
    }

    private async sendToWhisper(audioBlob: Blob) {
        try {
            console.log('Sending audio to Whisper API...');
            const formData = new FormData();
            formData.append('file', audioBlob, 'audio.webm');
            formData.append('model', 'whisper-1');

            const response = await fetch('https://api.openai.com/v1/audio/transcriptions', {
                method: 'POST',
                headers: {
                    'Authorization': `Bearer ${import.meta.env.VITE_OPENAI_API_KEY}`,
                },
                body: formData
            });

            if (!response.ok) {
                const errorText = await response.text();
                throw new Error(`HTTP error! status: ${response.status}, details: ${errorText}`);
            }

            const data = await response.json();
            console.log('Received transcription:', data.text);
            this.onStatusChange('');
            this.onTranscriptionComplete(data.text);
        } catch (error) {
            console.error('Error transcribing audio:', error);
            this.onStatusChange('Error: Failed to transcribe audio');
        }
    }
}
Step 3: Update HTML
- Add the record button and status display to your
index.html:
<!-- Add this after your existing buttons -->
<section role="group">
    <button id="recordButton">Start Recording</button>
</section>

<div>
    <p id="recordingStatus"></p>
</div>
Step 4: Update Main TypeScript File
- Update your
src/main.tsto include the recording functionality:
// Add these imports at the top of your file
import { AudioRecorder } from './audio-handler';

// Add these DOM elements with your existing ones
const recordButton = document.getElementById("recordButton") as HTMLButtonElement;
const recordingStatus = document.getElementById("recordingStatus") as HTMLParagraphElement;

// Add these variables with your existing ones
let audioRecorder: AudioRecorder | null = null;
let isRecording = false;

// Add this function to handle speaking text
async function speakText(text: string) {
    if (avatar && text) {
        await avatar.speak({
            text: text,
        });
    }
}

// Add these functions for audio recording
function initializeAudioRecorder() {
    audioRecorder = new AudioRecorder(
        (status) => {
            recordingStatus.textContent = status;
        },
        (text) => {
            speakText(text);
        }
    );
}

async function toggleRecording() {
    if (!audioRecorder) {
        initializeAudioRecorder();
    }

    if (!isRecording) {
        recordButton.textContent = "Stop Recording";
        await audioRecorder?.startRecording();
        isRecording = true;
    } else {
        recordButton.textContent = "Start Recording";
        audioRecorder?.stopRecording();
        isRecording = false;
    }
}

// Add this event listener with your existing ones
recordButton.addEventListener("click", toggleRecording);
This implementation uses the following Web APIs: MediaRecorder API, getUserMedia API, Web Audio API.
Step 5: Test the Implementation
- Start your development server:
bun dev- Open your browser and test the functionality:
- Click "Start Session" to initialize the avatar
- Click "Start Recording" to begin recording your voice
- Speak your message
- Click "Stop Recording" to stop recording
- Wait for the transcription and watch the avatar speak your message
For any issues or questions, please refer to:
Conclusion
You've successfully added speech-to-text capabilities to your Heygen Streaming Avatar demo. This enhancement transforms your application from a text-based interface to an interactive voice-enabled experience. The integration of OpenAI's Whisper API provides accurate speech recognition across multiple languages, while the modular structure of the code allows for easy maintenance and future improvements.
Updated 11 days ago